
How to Connect a Tapo C520WS to Your Computer
Want to see your Tapo C520WS on a computer? Start on your home network: set up the camera in the Tapo app, create a separate Camera Account, and open its live stream in VLC.
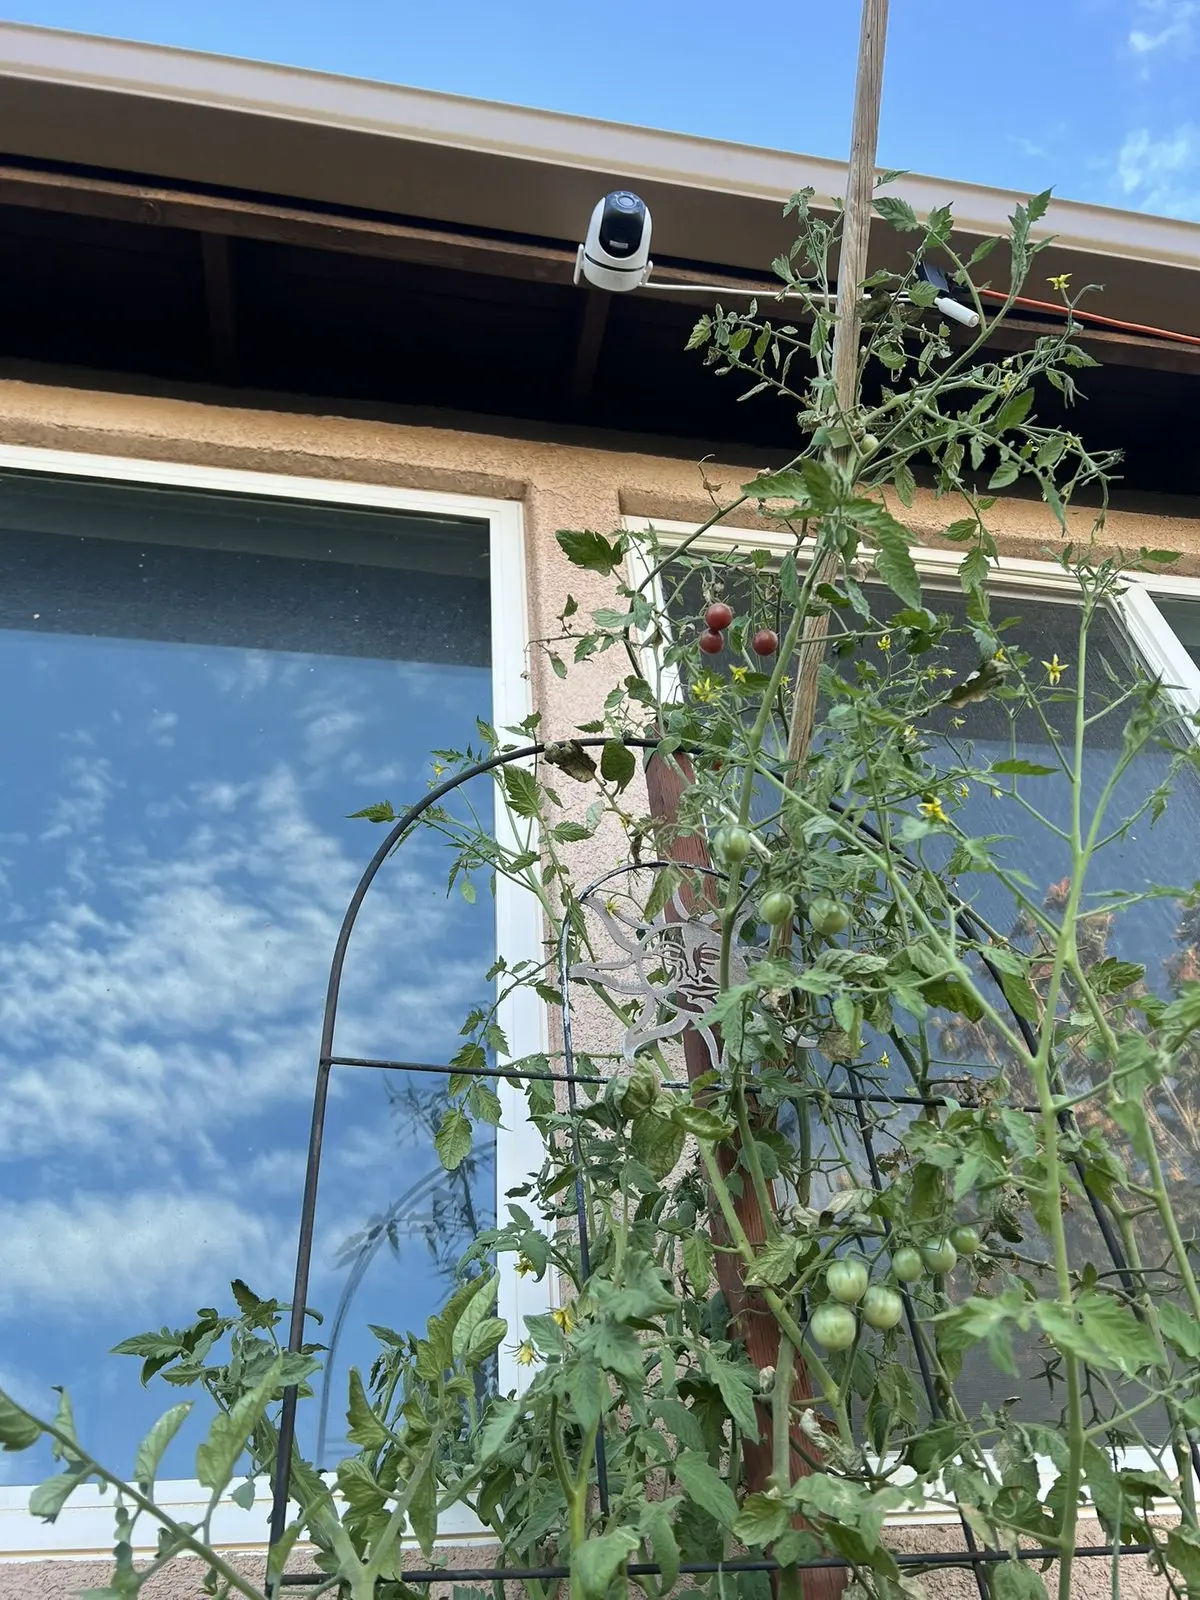
Before you follow these steps: This guide covers the Tapo C520WS and was checked against TP-Link's US documentation on September 12, 2026. GardenSeer has not verified every hardware version, firmware build, app version, or region. Check the label on your camera and use TP-Link's support page for your region if a step looks different.
You do not need a recorder to try this. VLC can show the camera's live video on a computer connected to the same trusted network. If you later want a compatible recorder to find the camera and use supported controls, ONVIF is another option.
RTSP carries the live video. ONVIF helps compatible software find the camera and use supported functions. Neither gives third-party software every feature in the Tapo app or acts as a broad public API.
Before you start
You will need:
- A powered Tapo C520WS that works in the Tapo app
- The model, hardware version, firmware version, and region for your exact unit
- A computer on the same trusted local network as the camera
- VLC media player for the RTSP test
- The camera's local IP address
- A dedicated Camera Account username and strong, unique password—not your TP-Link ID password
TP-Link's US specifications list RTSP and ONVIF for the C520WS. Its support page lists several hardware versions, including V1, V1.60, V2, and V2.60. Firmware and availability can differ by region, so check the version on your own camera.
Keep this local. TP-Link recommends a trusted home network with encrypted Wi-Fi for RTSP and ONVIF. Do not test on public Wi-Fi or expose camera ports to the internet just to make VLC work.
1. Set up the camera in the Tapo app
- Add the C520WS in the Tapo app, following the instructions for your hardware version and region.
- Open Live View in the app. If it does not work there, fix that connection before trying VLC.
- In Device Settings → Device Info, note the model, hardware version, and firmware version. If you update firmware, use the normal Tapo flow and read the notes for your version.
App menus can change. If yours looks different, follow TP-Link's current instructions for your region instead of guessing at a similar setting.
2. Create a separate Camera Account
VLC and ONVIF software do not use the TP-Link ID you use to sign in to the Tapo app. They need a separate Camera Account for this camera.
- Open the C520WS Live View in the Tapo app.
- Open Device Settings.
- Go to Advanced Settings → Camera Account.
- Create a username and a strong password used only for this camera access. Store them in your password manager.
Do not reuse your TP-Link ID, email, or router password. Never put real Camera Account credentials in screenshots, support posts, command history, or notes you might share. The examples below use placeholders only.
3. Find the camera's local IP address
Open Device Settings → Device Info in the Tapo app and look for the IP address. You can also find it in your router's DHCP client list. An address may look like 192.168.1.50; that is an example, not this camera's address.
Write down the address you see now; your router may assign a different one later. If a long-running computer setup needs a stable address, your router may let you reserve one for the camera. Follow the router's instructions for a DHCP reservation rather than choosing an address at random.
Keep the camera and computer on a trusted network where they can reach each other. A guest network, device-isolation setting, separate VLAN, or VPN on the computer can block the connection even when both devices have internet access.
4. Open the RTSP stream in VLC
- Open VLC.
- On Windows, choose Media → Open Network Stream. On another platform, use VLC's equivalent network-stream command.
- Enter this high-quality stream address, replacing the placeholders with your Camera Account username, password, and camera IP address:
rtsp://CAMERA_USERNAME:CAMERA_PASSWORD@CAMERA_IP/stream1For the lower-quality stream, use stream2:
rtsp://CAMERA_USERNAME:CAMERA_PASSWORD@CAMERA_IP/stream2TP-Link calls stream1 the high-quality stream andstream2 the standard-quality stream. If your client asks for a port number, add the default RTSP port, 554:
rtsp://CAMERA_USERNAME:CAMERA_PASSWORD@CAMERA_IP:554/stream1
rtsp://CAMERA_USERNAME:CAMERA_PASSWORD@CAMERA_IP:554/stream2
If your client asks for the Camera Account username and password separately, use that prompt instead of putting them in the address. Addresses can be saved in recent-item lists, screenshots, logs, or exported settings.
Seeing video in VLC confirms that the computer can reach the live stream. It does not confirm recording, motion events, or every other Tapo feature. VLC is a viewer here, not a full recorder setup.
5. Connect with ONVIF if you need it
VLC is enough for a basic live view. If you have a recorder or camera app that supports ONVIF, add the C520WS using:
- the camera's local IP address;
- ONVIF service port
2020; - the separate Camera Account username and password; and
- ONVIF Profile S.
ONVIF may help the software find the camera, get its stream, and use functions both sides support. TP-Link lists video and audio streaming, network settings, events, and pan-tilt-zoom control under Profile S. What works still depends on your camera's firmware and the software you use.
Profile S does not include two-way audio. Detection alerts and pan-and-tilt controls can also vary by app. A feature missing from your ONVIF software does not necessarily mean the camera is offline.
Check the recording limit
The camera cannot use every recording path at once. TP-Link says only two of these three can run at the same time:
- Tapo Care;
- microSD card recording; and
- NVR, NAS, or ONVIF software recording.
If Tapo Care and a microSD card are already in use, TP-Link says third-party recording can be disabled. If a stream will not open, close other viewers and try again. Check the combination you actually use on your hardware and firmware version rather than assuming every path will stay available.
Troubleshooting
VLC keeps loading or will not open the video
- Confirm that Live View still works in the Tapo app.
- Recheck the camera's current local IP address.
- Check the Camera Account username and password—not your TP-Link ID. Use a separate credential prompt if your client offers one.
- Check that the computer and camera can reach each other on the trusted local network. Guest isolation, a VLAN, or a VPN can get in the way.
- Try the explicit
:554port. - Close other camera viewers and try
stream2. - Restart the camera and test again before resetting it.
The password works in one app but not another
Some apps read @, :, or / in a stream address as separators instead of password characters. Use a separate credential prompt when available. If RTSP still fails, TP-Link suggests recreating the Camera Account without special characters. Keep the new password long, unique, and safely stored; do not reuse a weaker password.
Your ONVIF app cannot find the camera
Check that the camera and client are on the same local network or subnet, without access-point or VLAN isolation between them. Try adding the camera manually with its IP address and port 2020. Failed discovery does not prove the video stream is unavailable.
The video is choppy or looks less sharp than expected
Try stream2, close other viewers, and test with a stronger Wi-Fi connection. TP-Link says the Tapo app's video-quality setting affects Stream 1 on some models. Check the setting on your C520WS, but do not assume a particular resolution without testing your version.
It worked before, but the stream address no longer works
Check whether the router gave the camera a new IP address, the Camera Account changed, or an app or firmware update changed a setting. Note the versions you have now. If you need a stable IP address, consider a DHCP reservation in your router.
Away from home? Use a VPN
Keep RTSP and ONVIF inside your trusted network. If you need to view the camera from elsewhere, TP-Link recommends a VPN connection to your home network. It warns that these protocols are not highly secure when exposed to the public internet for long periods.
This guide does not include public port-forwarding steps. A working local stream is not a reason to open camera ports to the internet. Use a maintained VPN, keep the camera and router updated, limit access to devices that need it, and remove access you no longer use.
Garden placement, outdoor power, and Wi-Fi
Video in VLC does not mean the outdoor installation is finished. Choose a position you can return to, check Wi-Fi at that spot, and protect the camera's power connections from weather as the manual directs. Use the instructions for your exact hardware version, keep power parts only where they are rated, and get qualified local help if the electrical setup is uncertain.
What this means for GardenSeer support
This is a setup guide for one camera model, not a GardenSeer compatibility certification. GardenSeer has not checked every hardware, firmware, app, and regional combination, selected the C520WS as a GardenSeer product, or promised support for it. See thecurrent hardware research articlesfor more on our research and its limits.
Local video streams can help with GardenSeer Garden Lab experiments. They do not mean GardenSeer has shipped plant-stress detection, ripening alerts, camera-controlled watering, or broad camera integration. Read the story behind this setup inWhy I Put a Camera Over My Garden.
Official sources
These TP-Link pages were checked for this guide on September 12, 2026. Product details and support steps can change, so use the regional page for your camera.
- TP-Link,Tapo C520WS specifications
- TP-Link,How to View Tapo Camera on PC, NAS, or NVR Using RTSP/ONVIF
- TP-Link,Tapo Camera ONVIF and RTSP Common Questions
- TP-Link,How to Find the IP Address of Your Tapo and Kasa Camera
- TP-Link,Tapo C520WS downloads, hardware versions, and firmware notes
Tapo, TP-Link, and VLC are names of their respective owners. GardenSeer is not affiliated with or endorsed by TP-Link or VideoLAN. This guide contains no purchase or affiliate link.